














 3 Jahre Garantie
 Lieferung innerhalb von 17 Arbeitstagen
 Experten für Betriebseinrichtungen
 Made in Germany

Staging Your Equipment
Not opening every individual box, but unpacking and spreading things out in a way that makes installation easier and more efficient.
Time:
- 20-30 minutes for a full system
Tools Needed:
- Cutter
- Space to spread equipment out
Tips:
- Keep components for each part with each other.
- Try to keep the installation order above in mind while staging.
Floors
Time:
- 20 mins (40 mins if you need to remove an OEM floor first)
Tools Needed:
- Cutter
- Rubber mallet
- Drill with bits
Tips:
- Start from the front with the first panel.
- Panels are labelled on the bottom indicating the location they belong to.
- Lay down all panels in the right position before fixing them together.

Ram Promaster 159 WB
Ram Promaster 136
Ford Transit 148
Ford Transit 130 WB
Floor Promaster 159 New
Floor Promaster 136 New
78 inch length (41 + 37 Frame)
65 inch length (41 + 24 frames)
61 inch length (41 + 19 frames)
Partition
Time:
- 1.5 - 2 hours
Tools Needed:
- Cutter
- Ratchet set
- Drill with bits
Tips:
- Keep all parts organized while unboxing
- Open screws and fixings kits and keep them in one box to not lose any.
- Having a second person assisting is beneficial.
- All brackets are labelled with a number and displayed in the instructions.
- During the installation do not tighten the screws until said so in the instructions; keep them somewhat loose to have room to shift the bracket a bit for easier alignment of other parts which connect together. Fully tighten all screws at the very end.
RAM Promaster High Roof Partition Instructions
RAM Promaster Low Roof Partition Instructions
Sprinter High Roof Partition Instructions
Sprinter Low Roof Partition Instructions
Transit High Roof Partition Instructions
Transit Medium Roof Partition Instructions
Frames & Brackets
Time:
- 45 min - 2 hours depending on how many modules
Tools Needed:
- Cutter
- Ratchet set
- Drill with bits
Tips:
- Mount brackets to the vehicle first and put frames in place after brackets are connected to the van for easier access to the brackets.
- Do not forget to install the frame end infill perfo panel on frames.
- Keep everything somewhat loose and tighten at the end when every frame is in place.
- Connect a maximum of two frames at a time when lifting inside the van otherwise it gets too heavy or awkward to handle.
Chevrolet Express + GMC Savana
Express + Savana 135 WB Left Front
Express + Savana 135 WB Left Rear
Express + Savana 135 WB Right
Express + Savana 155 WB Left Front
Express + Savana 155 WB Left Rear
Express + Savana 155 WB Right
Ford Transit
Transit 130 WB Low Roof Left Front
Transit 130 WB Low Roof Left Rear
Transit 130 WB Low Roof Right Rear
Transit 130 WB Med Hi Roof Left Front
Transit 130 WB Med Hi Roof Left Rear
Transit 130 WB Med Hi Roof Right
Transit 148 EXT WB Med Hi Roof Left Front
Transit 148 EXT WB Med Hi Roof Left Rear
Transit 148 EXT WB Med Hi Roof Right
Transit 148 Ext Med Hi Roof Dually Left Rear
Transit 148 Ext Med Hi Roof Dually Right
Transit 148 Ext Med Hi Roof Left Front
Transit 148 WB Low Roof Left Front
Transit 148 WB Low Roof Left Rear
Transit 148 WB Low Roof Right
Transit 148 WB Med Hi Roof Right
Transit 148 WB Med Hi Roof Left Front
Transit 148 WB Med Hi Roof Left Rear
Mercedes Metris
Metris 126 WB Left - Double Door
Metris 126 WB Left - Single Door
Metris 126 WB Right
Metris 135 WB Left - Double Door
Metris 135 WB Left - Single Door
Metris 135 WB Right
Mercedes Sprinter
Sprinter 144 WB Low + Hi Roof Left Front
Sprinter 144 WB Low + Hi Roof Left Rear
Sprinter 144 WB Low + Hi Roof Right
Sprinter 170 EXT WB Low + Hi Roof Left Front
Sprinter 170 EXT WB Low + Hi Roof Left Rear
Sprinter 170 EXT WB Low + Hi Roof Right
Transit 148 EXT WB Med Hi Roof Left Front
Sprinter 170 EXT WB Low + High Roof Dually Right
Sprinter 170 WB Low + Hi Roof Left Front
Sprinter 170 WB Low + Hi Roof Left Rear
Sprinter 170 WB Low + Hi Roof Right
Sprinter 170 WB Low + Hi Roof Dually Left Front
Sprinter 170 WB Low + Hi Roof Dually Left Rear
Sprinter 170 WB Low + Hi Roof Dually Right
Ram ProMaster
ProMaster 118 Std Roof Left Front
ProMaster 118 Std Roof Left Rear
ProMaster 118 Std Roof Right
ProMaster 136 Std + Hi Roof Left Front
ProMaster 136 Std + Hi Roof Left Rear
ProMaster 136 Std + Hi Roof Right
ProMaster 159 Ext High Driver Side Front
ProMaster 159 Ext High Driver Side Rear
ProMaster 159 Ext High Passenger Side
ProMaster 159 Std + Hi Roof Left Front
Promaster 159 Std + Hi Roof Left Rear
ProMaster 159 Std + Hi Roof Right
Ram ProMaster City
ProMaster City Left
ProMaster City Right
Rivian
Y94 Frame Layout LH Side#01
Y94 Frame Layout RH Side#01
Y94 Rear Frame Layout#01
Trailer + Workshop
Frames Trailer&Wall
End Panels
Time:- 10 min
- Drill with bits
Deck Kits
Time:- 30 min - 1 hour depending on the van
- Cutter
- Ratchet set
- Drill with bits
Top Shelves & Trays
Time:
- 20 - 45 min depending on van size
Tools Needed:
- Cutter
- Drill with bits
Tips
- Install the brackets first then the shelf or tray after.
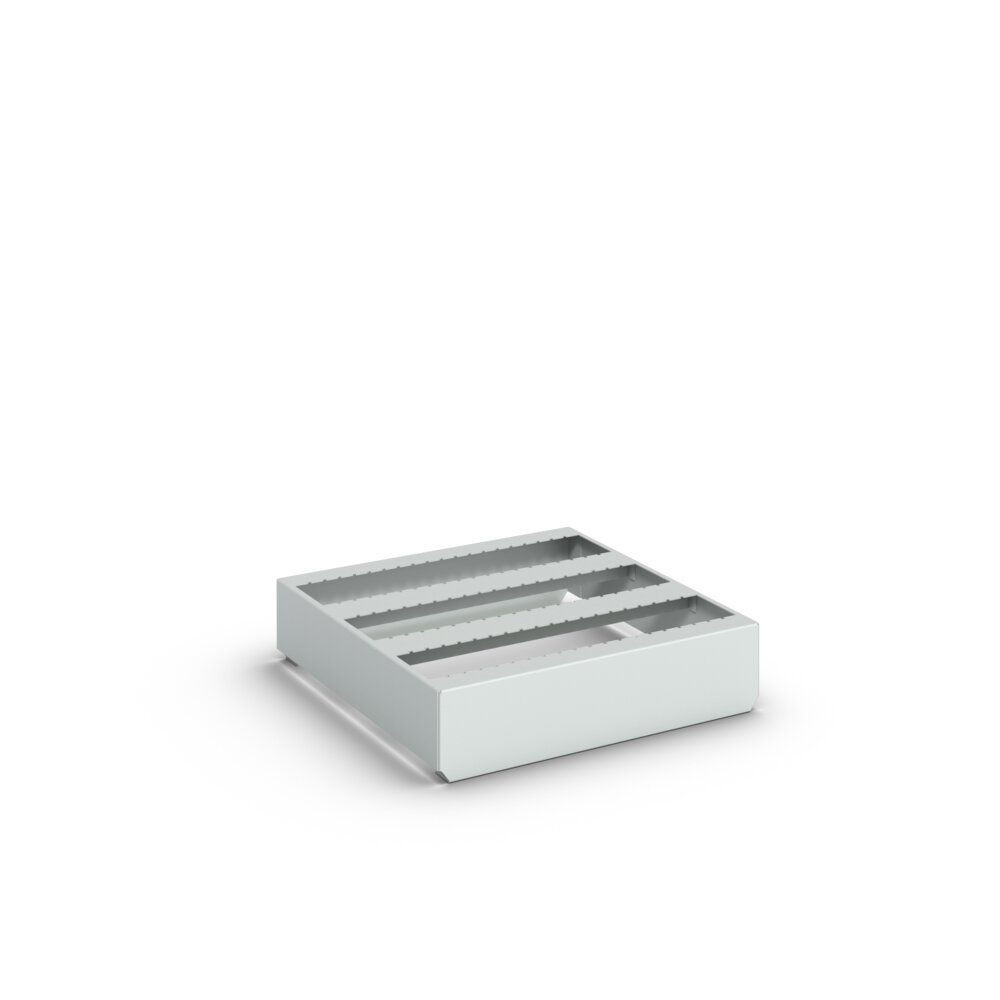
Floor Mount Tray for Low Roof Vans
Rivian - Full Length Top Shelf
Top Tray Extension
Top Tray for Low + High Roof Vans
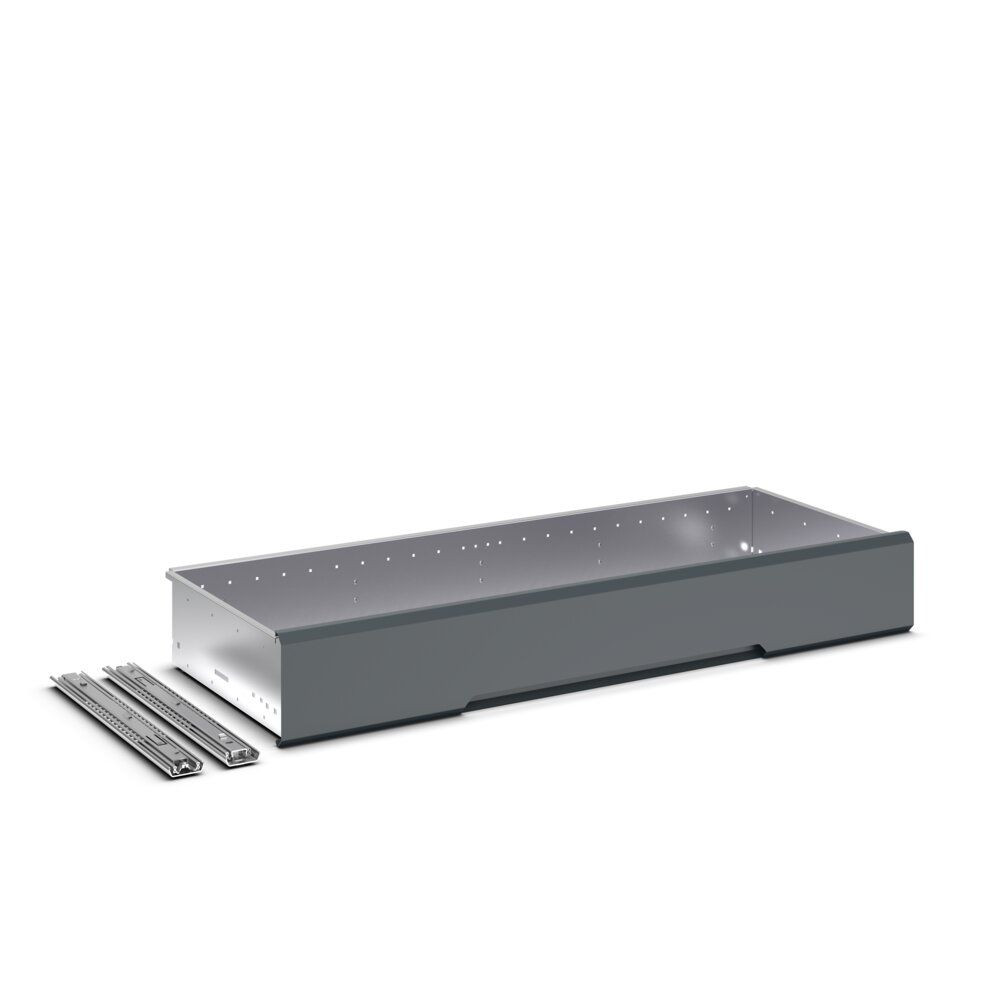
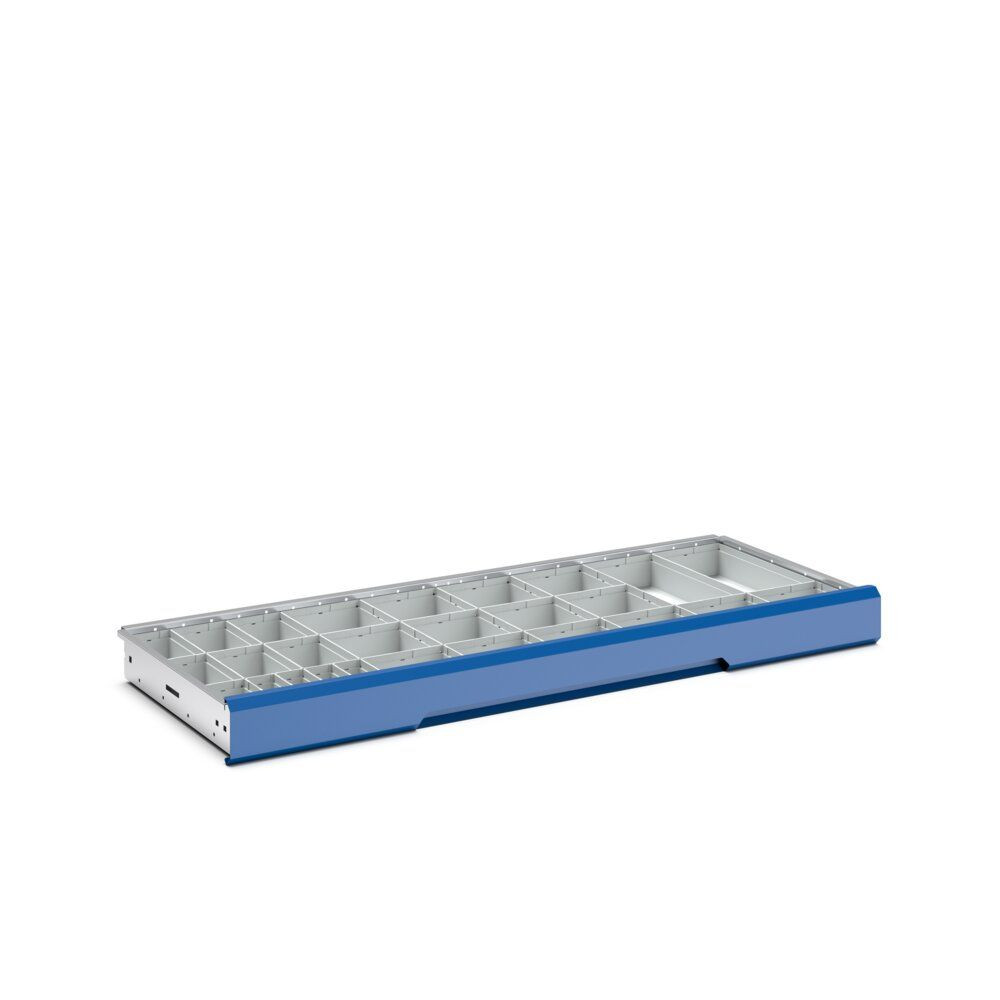
In-Frame Accessories (shelves, drawers, systainers, etc.) each unit
Time:- 1 - 5 min (gas bottle shelf 10 min)
- Drill with bits
- Start from the bottom and consider all the accessories you want to place inside that frame.
- Be conscious of the space needed between shelves to make room for what will be transported on them.
- For help, reference the design created or module design purchased which shows the approximate location of each component.
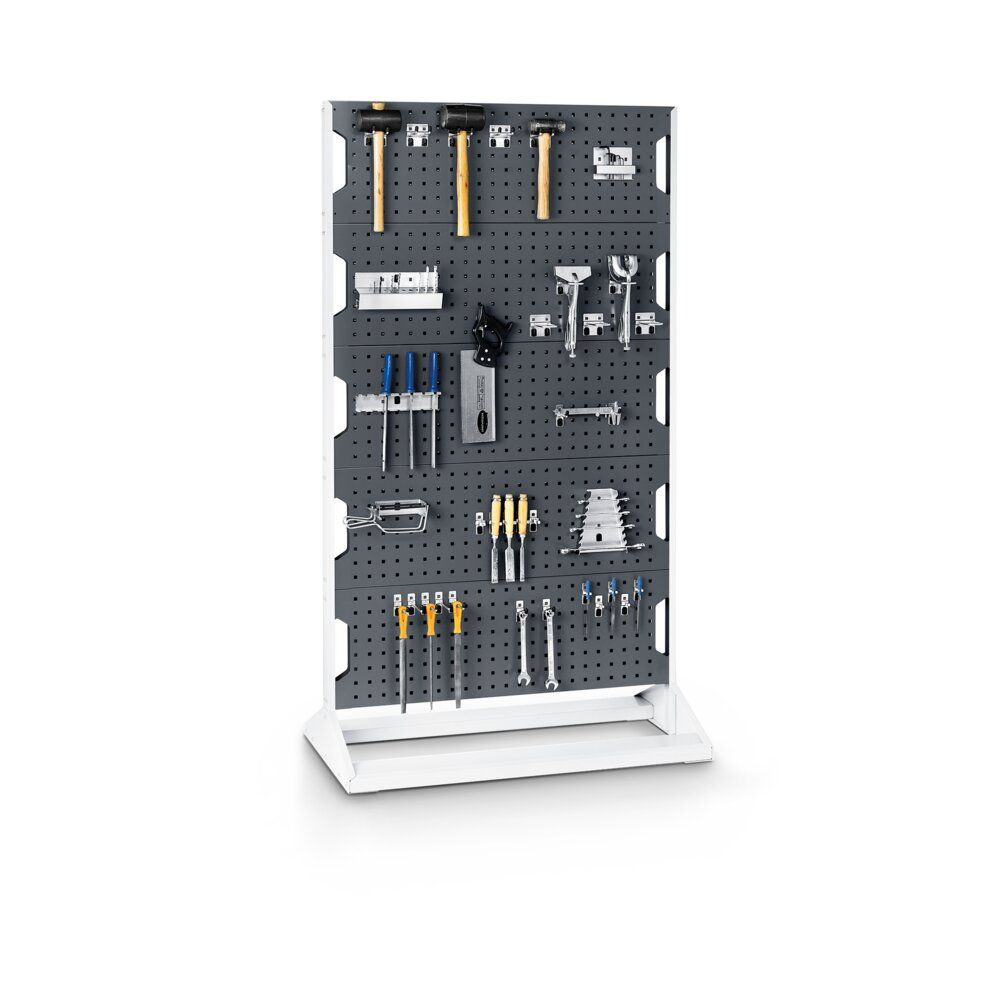
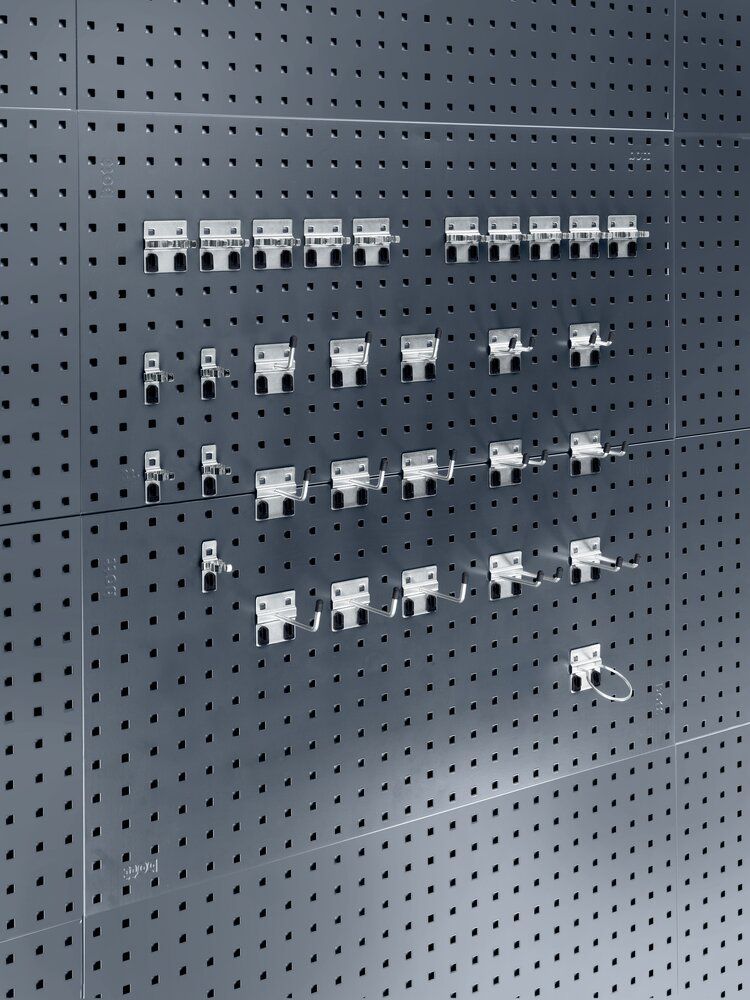
perfo Attachments
Time:
- <1 min
Tools Needed:
- Pliers
- Drill (only for clip nuts)
Tips:
- So not overtighten when the accessory has screws.
Rear Door Panels
Wall perfo Panel